


Hello Coders, this article is about the Laravel Login with Github. Laravel’s Socialite package makes it easy to auth our users to Twitter, Facebook, LinkedIn, Google, GitHub, and Bitbucket.
Hello Programmers!! In this article, we will learn, Laravel Login with GitHub.
Install Laravel 5.x
Install Laravel 5.8 using below command
$ composer create-project --prefer-dist laravel/laravel laravel-login-with-github "5.8.*"Note: Please skip this step, if you are working with existing Laravel app and Therefore follow next steps.
However If you are new to Laravel and don’t know how to install?
Also you can also Checkout this article, because we have tried to explained it better way to install.
Install Socialite package
Here we have to run below command to install `socialite` package.
$ composer require laravel/socialiteConfiguration changes for Laravel application
Meanwhile we need to bind Socialite package to our Laravel application, by following below steps.
Edit file [ config/app.php ] and update below code at specific section.
'providers' => [
        //Laravel Socialite package for social login
        Laravel\Socialite\SocialiteServiceProvider::class,
],

'aliases' => [
        //Laravel Socialite package for social login
        'Socialite' => Laravel\Socialite\Facades\Socialite::class,
]
Now we connected Socialite into our application, however, still, we need to follow the below steps.
Create Application on GitHub
For this specific example, we will use GitHub as our authentication provider.
Please follow below steps and create app on Github.
Please login to your Github account.
Click here to create New application on Github
By Clicking above link you will see page as below
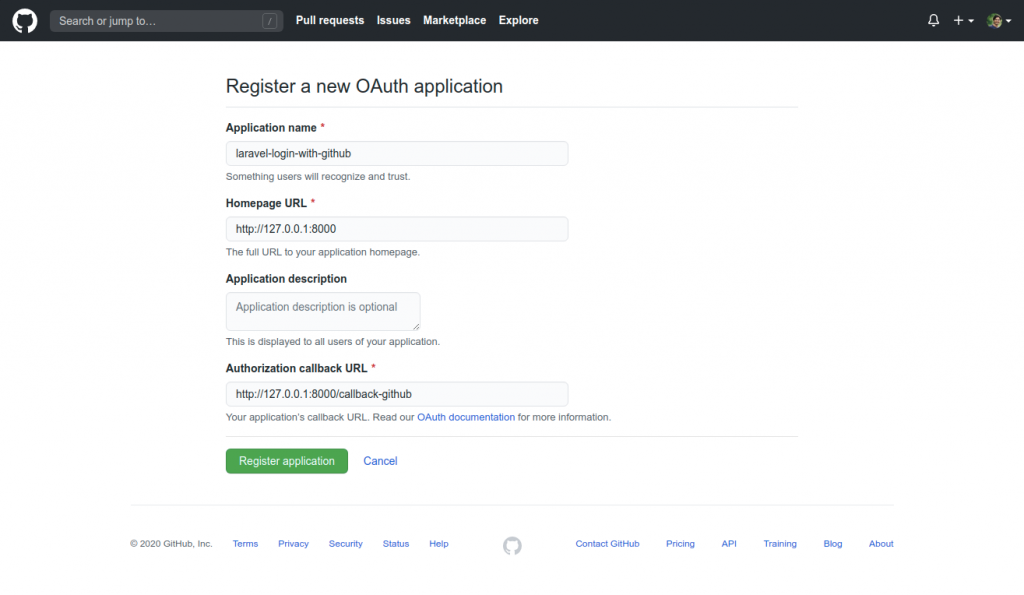
Here in my case i am using application on my localhost so i have used [ http://127.0.0.1:8000/ ] where you can use your domain name for the same.
As you can see in the screenshot we need to add application name which you wants to keep.
Set [Home page URL] and [Callback URL] as mentioned.
Make sure you will keep the callback URL same for this specific example, Because we are going to use this in further steps.
The callback URL used to handle the process of Github return data.
After creating application you will see below screen in your account.
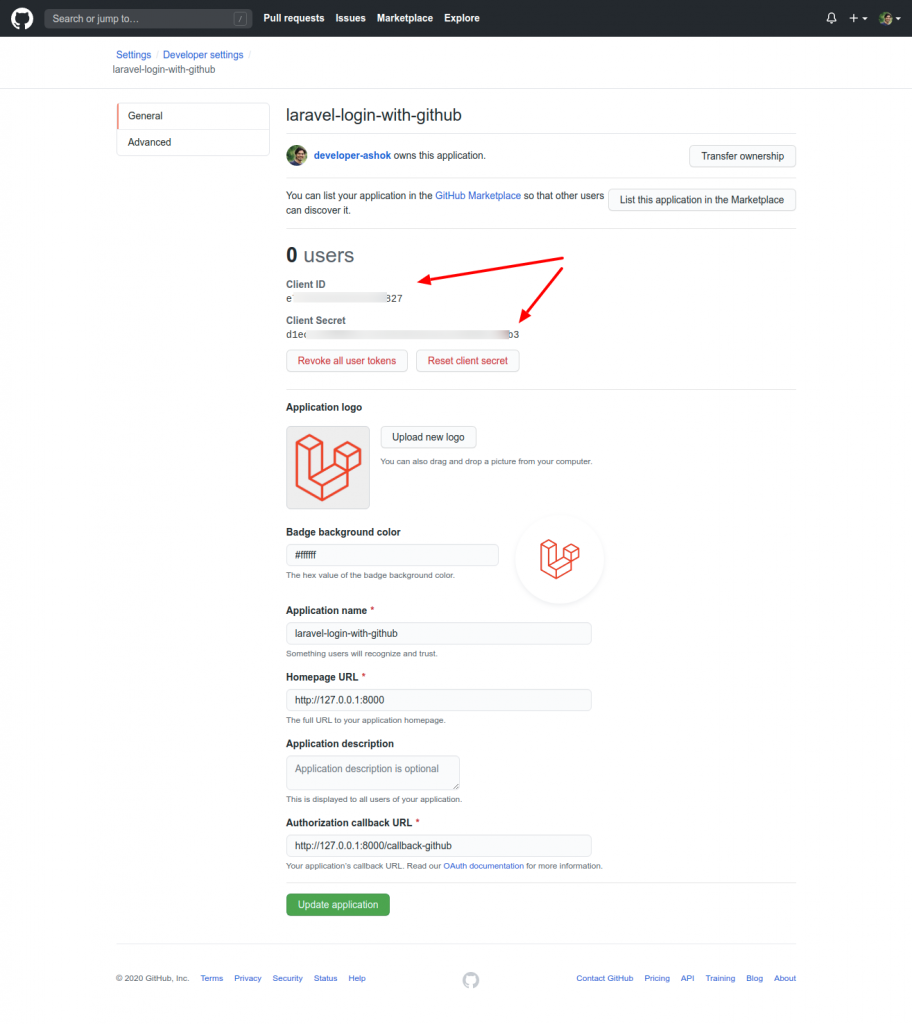
You will see the Client ID and Client Secret that will be use further in next step.
We are done to configure the Github application now time to move further. so, in conclusion, we need credentials from Github for the app.
Configuration of Services in Laravel for Laravel Login with GitHub.
Now, in this laravel Login with GitHub let’s add the below code for authentication information where Socialite can access it.
Open file from path: [ config/services.php ]
Code need to add as blow in existing array at the end.
'github' => [
   'client_id' => env('GITHUB_ID'),
   'client_secret' => env('GITHUB_SECRET'),
   'redirect' => env('GITHUB_URL'),
],
We have used environment variable here, instead of directly using those credentials. This practice is safe and best.
Edit .env file for environment variables.
Please edit [.env] file and update the code as mentioned
GITHUB_ID=XXXXXXXXXXXXXXXXXXXX
GITHUB_SECRET=XXXXXXXXXXXXXXXXXXXXXXXXXXXXXXXXXXXXXXXX
GITHUB_URL=http://127.0.0.1:8000/callback-github
Please make sure you will replace GITHUB_ID and GITHUB_SECRET with your actual credentials from Github application.
Bravo! Socialite now able to trigger GitHub for you. Let’s set up our routes and controller methods and other stuff including view files.
Database and migration file related changes
Open migration file for User table or create new one as add below code.
We needed to add below code for [github_id] Inside user table.
<?php
//File path: database/migrations/2014_10_12_000000_create_users_table.php

use Illuminate\Support\Facades\Schema;
use Illuminate\Database\Schema\Blueprint;
use Illuminate\Database\Migrations\Migration;

class CreateUsersTable extends Migration
{
    /**
     * Run the migrations.
     *
     * @return void
     */
    public function up()
    {
        Schema::create('users', function (Blueprint $table) {
            $table->bigIncrements('id');
            $table->string('name');
            $table->string('email')->unique();
            $table->timestamp('email_verified_at')->nullable();
            $table->string('password');

            // we just needed this for this example rest field we can set per our requirement.
            $table->string('github_id')->unique()->nullable();

            $table->rememberToken();
            $table->timestamps();
        });
    }

    /**
     * Reverse the migrations.
     *
     * @return void
     */
    public function down()
    {
        Schema::dropIfExists('users');
    }
}
Modification of Routes
It’s time to change route accordingly. please check code below as add to route. path will be [routes/web.php]
<?php

//below are the route to handle github things.
Route::get('github-auth', 'Auth\AuthGithubController@redirectToGithub')->name('github-auth');
Route::get('callback-github', 'Auth\AuthGithubController@handleGithubCallback')->name('callback-github');
Lets code Controller accordingly
We have to create controller with below code.
File path: app/Http/Controllers/Auth/AuthGithubController.php
And below is the code
<?php

namespace App\Http\Controllers\Auth;

use App\User;
use App\Http\Controllers\Controller;
use Illuminate\Support\Facades\Hash;
use Illuminate\Support\Facades\Validator;
use Socialite;

class AuthGithubController extends Controller
{
     /**
     * Redirect the user to the GitHub authentication page.
     *
     * @return Response
     */
    public function redirectToGithub()
    {
        return Socialite::driver('github')->redirect();
    }

    /**
     * Obtain the user information from GitHub.
     *
     * @return Response
     */
    public function handleGithubCallback()
    {
        try {
            $user = Socialite::driver('github')->stateless()->user();
        } catch (Exception $e) {
            return redirect()->to('login');
        }

        $authUser = $this->createUser($user);
        auth()->login($authUser, true);
        return redirect()->to('home');
    }

    /**
     * Return user if exists; create and return if doesn't
     *
     * @param $githubUser
     * @return User
     */
    private function createUser($githubUser)
    {
        if ($authUser = User::where('github_id', $githubUser->id)->first()) {
            return $authUser;
        }

        return User::create([
            'name' => $githubUser->name,
            'email' => $githubUser->email,
            'github_id' => $githubUser->id,
            'password' => md5(uniqid()) // because the password is mandatory here in my database
        ]);
    }
}
User Eloquent modification
Make sure you will add [ github_id ] inside the User model code because it will be needed to bind Github as fillable.
<?php

namespace App;

use Illuminate\Notifications\Notifiable;
use Illuminate\Contracts\Auth\MustVerifyEmail;
use Illuminate\Foundation\Auth\User as Authenticatable;

class User extends Authenticatable
{
    use Notifiable;

    /**
     * The attributes that are mass assignable.
     *
     * @var array
     */
    protected $fillable = [
        'name', 'email', 'password', 'github_id'
    ];

    /**
     * The attributes that should be hidden for arrays.
     *
     * @var array
     */
    protected $hidden = [
        'password', 'remember_token',
    ];

    /**
     * The attributes that should be cast to native types.
     *
     * @var array
     */
    protected $casts = [
        'email_verified_at' => 'datetime',
    ];
}
Let’s run the project.
Run below command to run laravel App
$ php artisan serveYou will see below screen with Github button and normal login form.
You can place your own image based in theme because i have taken this image just for an example.
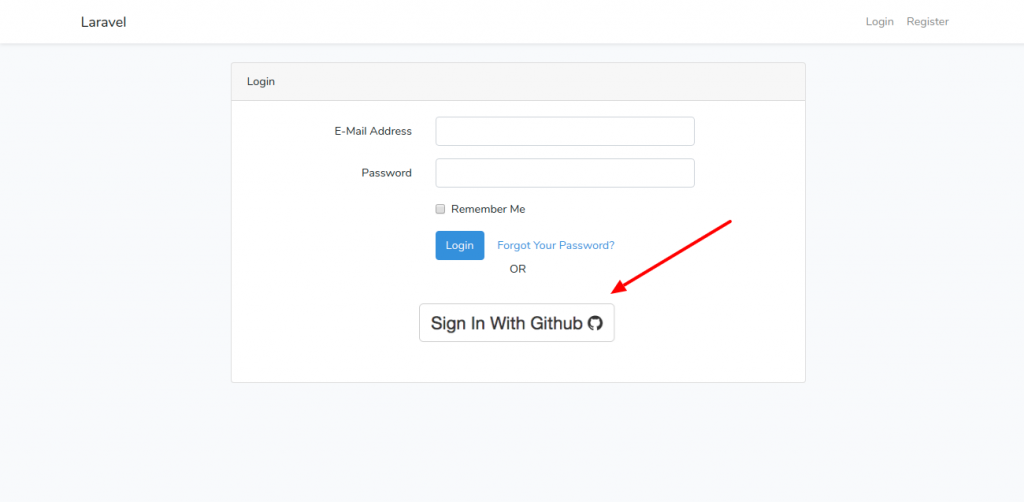
When you will click on [Sign in With Github] button we will be redirected to Github, and we will see below screen.
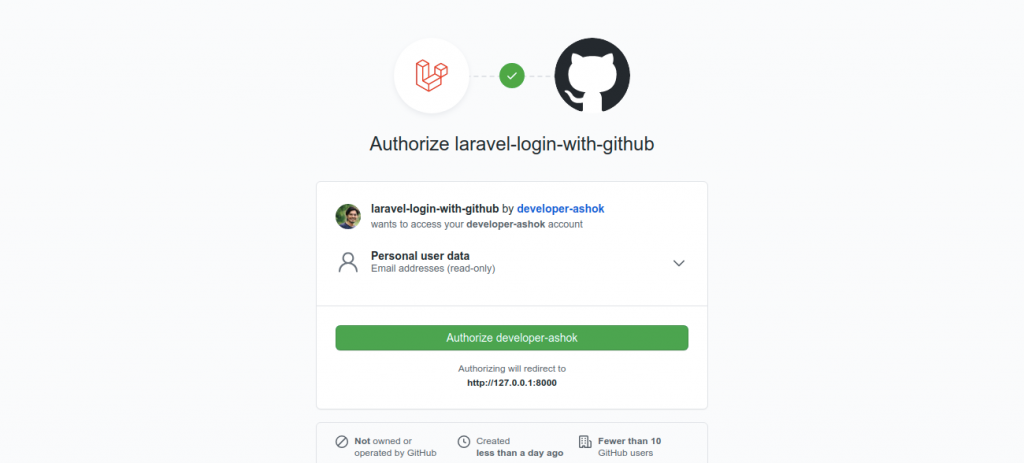
As a result you will successfully authorise the app, and we will redirect to our Laravel app and will be logged in successfully.
However if you got any error, please do let us know in the comment section.
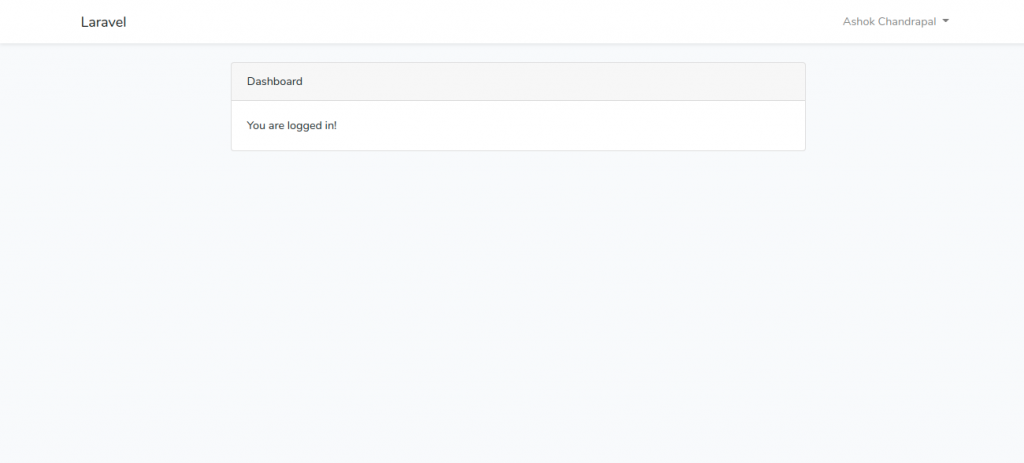
Yey! We are done here for setup and to implement Laravel Login with GitHub.
Please do let us know in the comment section, If you find any issue and if you have any concerns. So we can add more Clarification on this. We will be happy to help.
Please find below Github link and get direct access of code in case of anything.