


Hello Coders !! This tutorial is about How to upload files in amazon s3 bucket using Laravel. So let’s start with setup framework and Amazon S3 account.
Step 1 : Setup Amazone S3 bucket
Here we first create an account in third-party service called Amazon S3.
- Open this link Amazon console for Login.
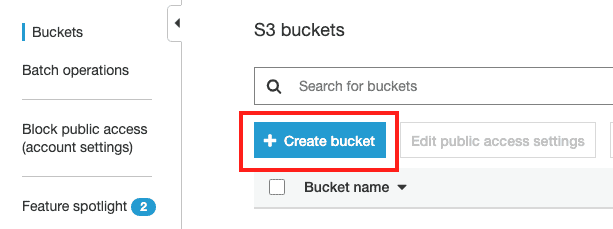
- Click on Amazon S3 service
- Create a bucket
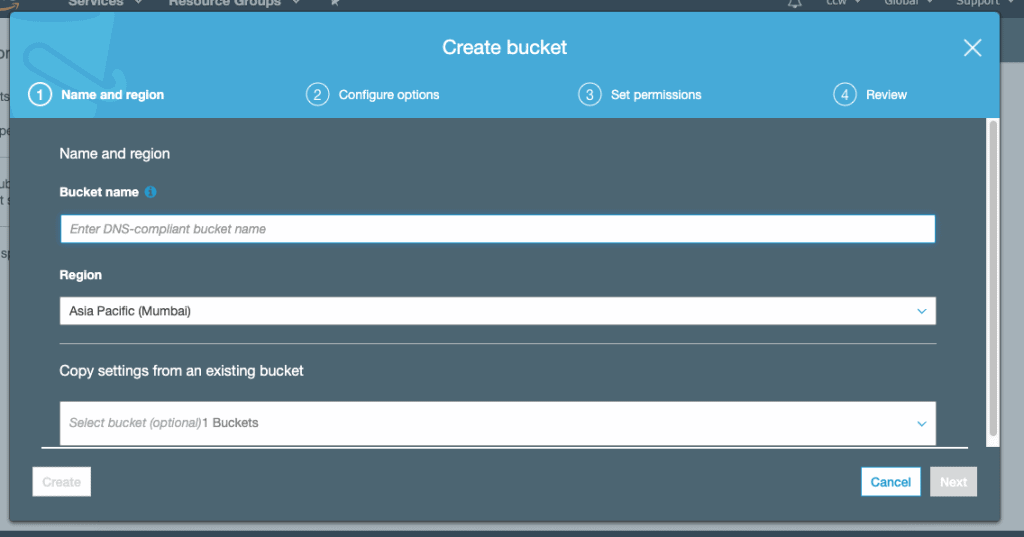
- Enter the required values in text inputs
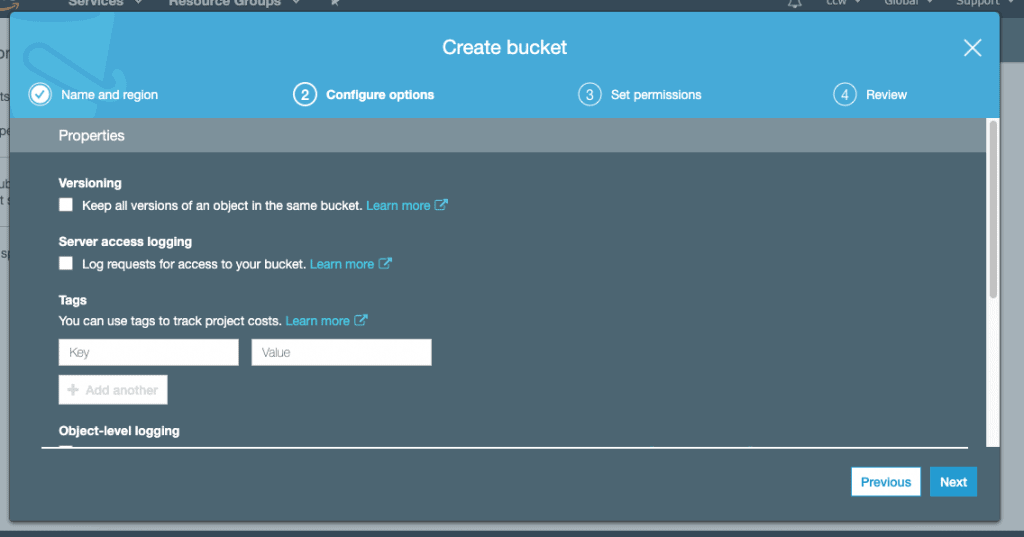
- Skip this step and press Next
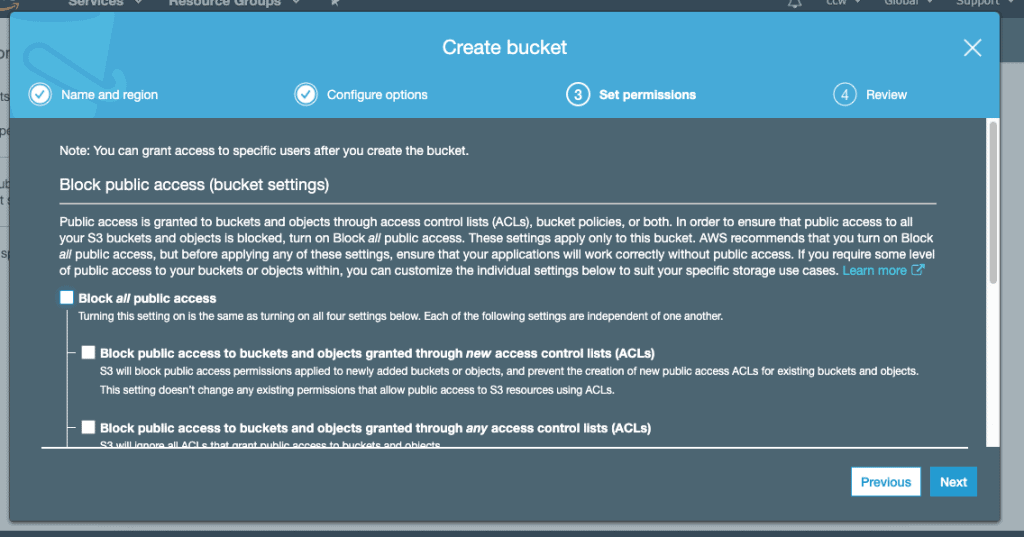
- Uncheck all the checkboxes same as below screenshot and click Next
- Now in step 4 do changes as per your requirements and Create Bucket
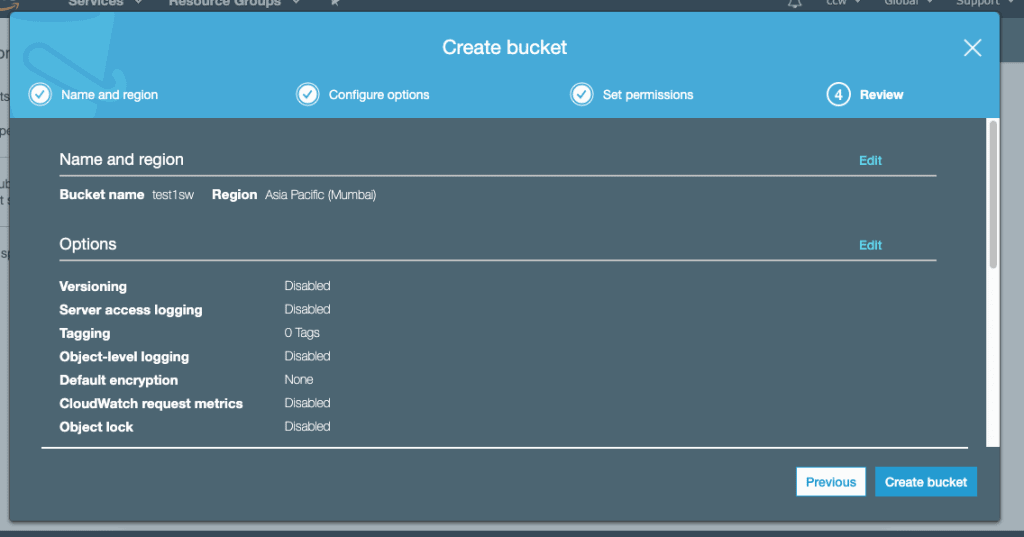
- Now you have successfully created a bucket now you can use this bucket to store files here now we need to create a user for this.
Step 2 : Create User
You need to create a user and assign to this bucket
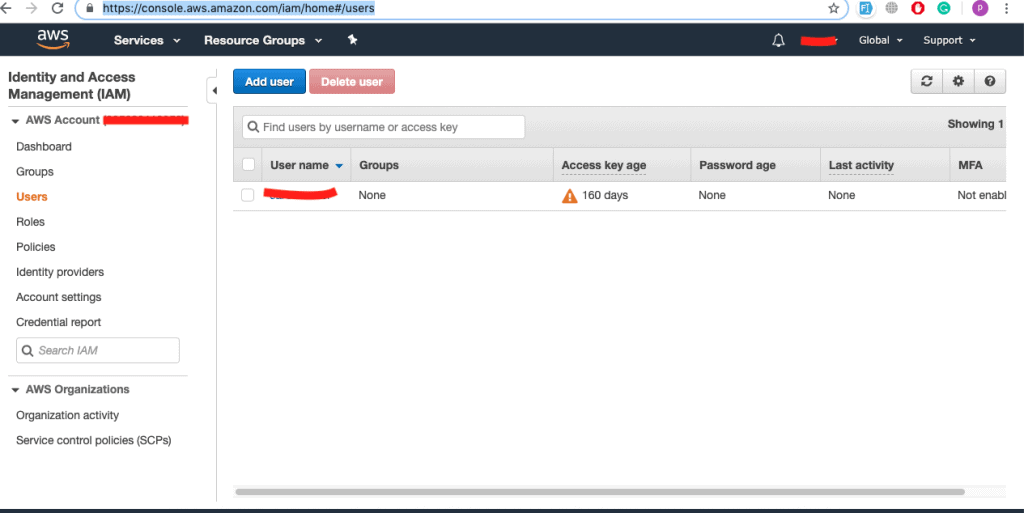
For this Amazon is providing IAM (Identity and Access Management) so you can search this in services pool or directly click here
- You will see the screen like this. Click on “Add User” from this screen.
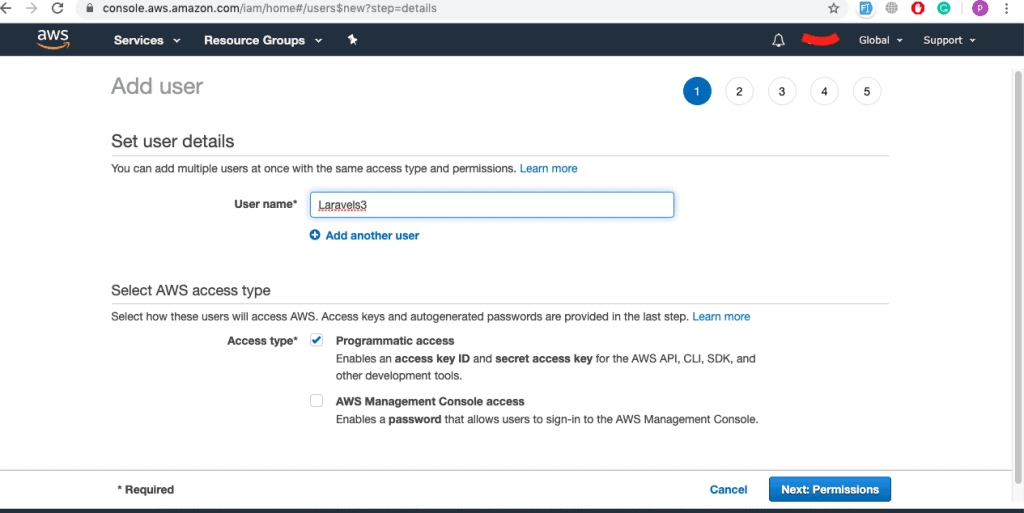
- In this “Add User” screen you need to enter a user name “Programmatic access” and then click on “Next Permission”
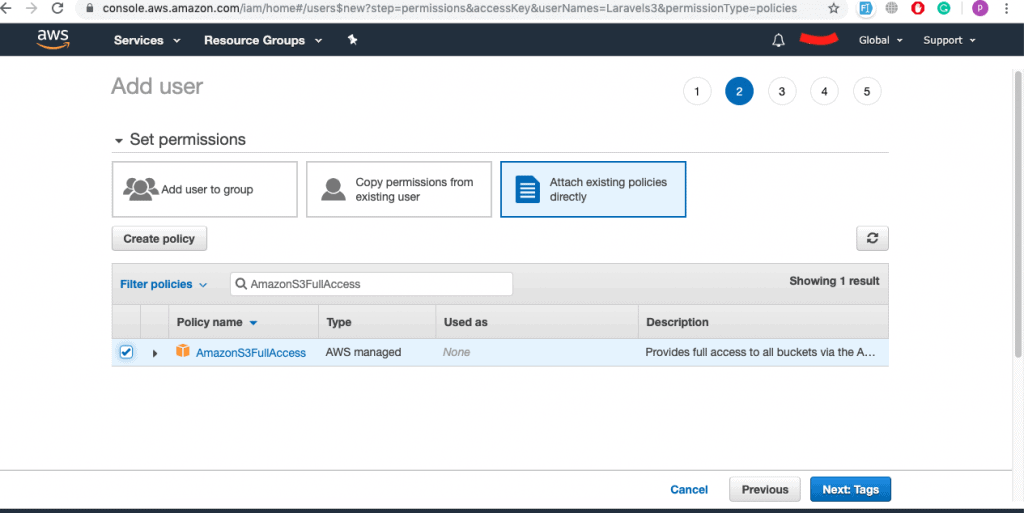
- You will redirect to this screen and you need to press the “Attach Existing Policy Directly” tab.
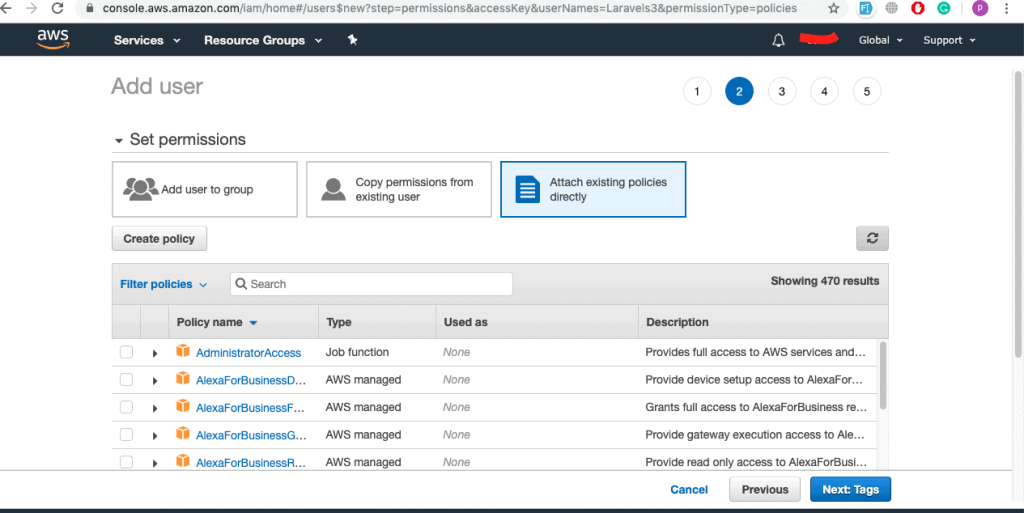
- Here in the search bar search “AmazonS3FullAccess” and check that option and click on “Next: Tags” Button.
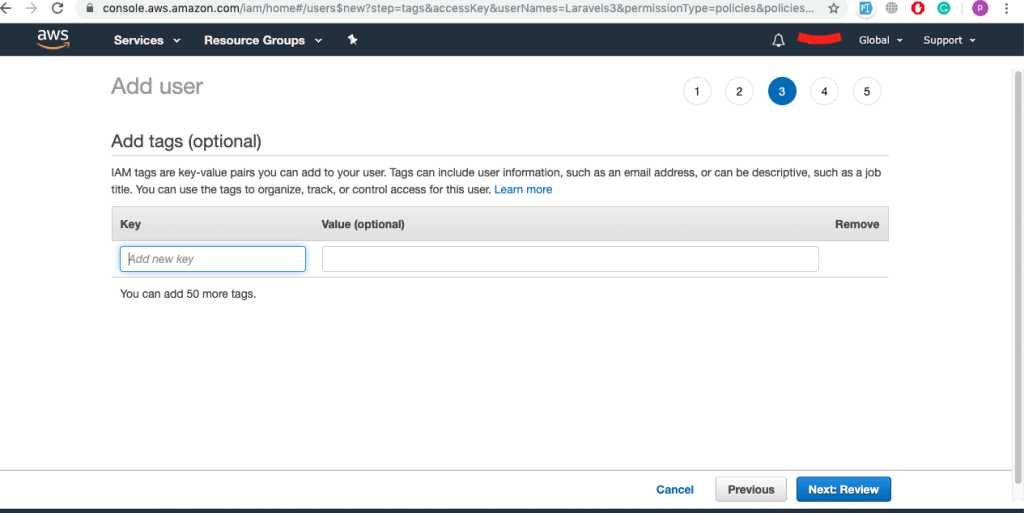
- This is optional you can skip these tags. Click on “Next: Review”
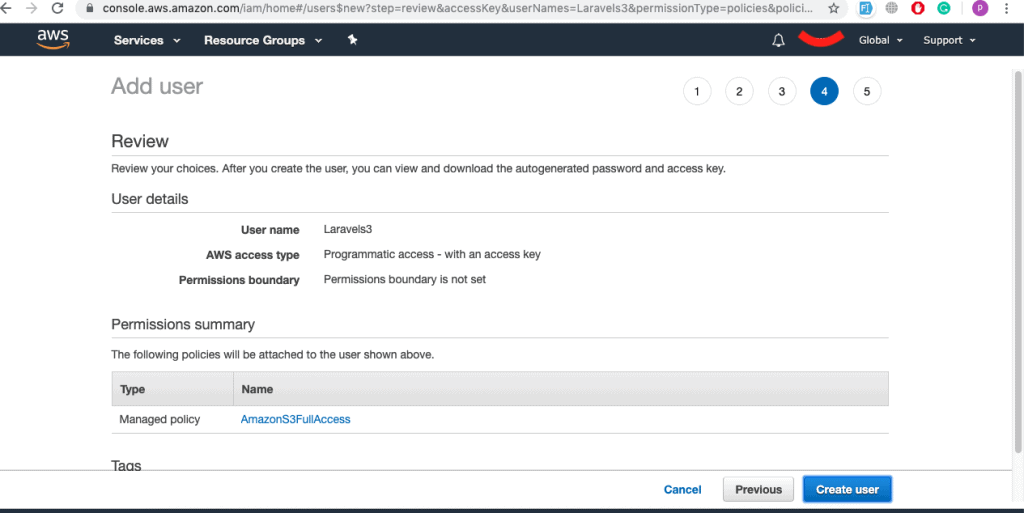
- Here just verify all your settings and then click on “Create User”.
- After creating user you will redirect to this page.
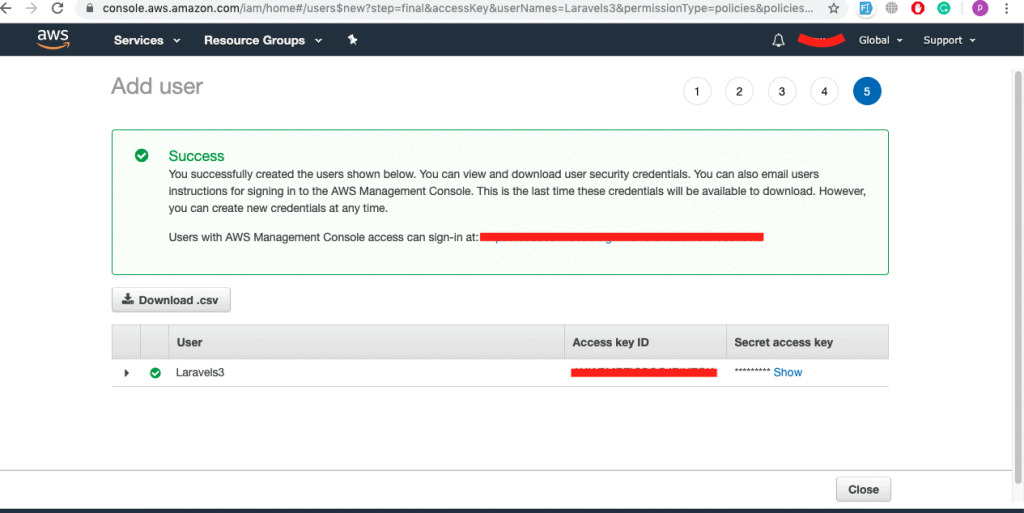
- From this page download Download.csv file it will contain your “AWS Access Key Id & Secret Key”.
Now you are done with the setup of Amazon s3 bucket now we are a move to the Laravel Setup.
Step 3 : Laravel setup
Here we will install the fresh laravel
So First, Let’s create a new project by running this command in terminal
composer create-project laravel/laravel laravel-amazon-s3-uploadThis will create a project named “laravel-amazon-s3-upload” in your project directory.
Open your .env file from the root and add the values of this parameter and also add the database parameters.
AWS_ACCESS_KEY_ID={Add key here}
AWS_SECRET_ACCESS_KEY={Add key here}
AWS_DEFAULT_REGION={Add region here ex. ap-south-1}
AWS_BUCKET={Add bucket name here}
Step 4 : Create Table
Here we create a table to store uploaded image info.
We will create a table named “upload_images” and will store images information there and for that, we will run this command in terminal.
php artisan make:migration upload_imagesThis command will generate migration file and will edit that file and add the attribute in that file and after that file will look like this.
<?php

use Illuminate\Support\Facades\Schema;
use Illuminate\Database\Schema\Blueprint;
use Illuminate\Database\Migrations\Migration;

class UploadImages extends Migration
{
    /**
     * Run the migrations.
     *
     * @return void
     */
    public function up()
    {
         Schema::create('upload_images', function (Blueprint $table) {
            $table->bigIncrements('id');
            $table->string('image_name');
            $table->string('image_path');
            $table->double('image_size', 8)->default(0);
            $table->timestamps();
        });
    }

    /**
     * Reverse the migrations.
     *
     * @return void
     */
    public function down()
    {
        Schema::dropIfExists('upload_images');
    }
}
Step 5 : Run Migration
php artisan migrateThis will create a table in your database.
Step 6 : Laravel Authentication (Optional)
php artisan make:authStep 7 : Create Model
Create a model name “UploadImages”
php artisan make:model UploadImage -mThis command will create a model of “UploadImage” model.
After adding the code this file will look like this.
<?php

namespace App;

use Illuminate\Database\Eloquent\Model;
use Illuminate\Support\Facades\Storage;

class UploadImage extends Model
{
    /* Fillable */
    protected $fillable = [
        'image_name', 'image_path', 'image_size'
    ];
    /* @array $appends */

    public $appends = ['url', 'uploaded_time', 'size_in_kb'];

    public function getUrlAttribute()
    {
        return Storage::disk('s3')->url($this->image_path);
    }

    public function getUploadedTimeAttribute()
    {
        return $this->created_at->diffForHumans();
    }

    public function user()
    {
        return $this->belongsTo(User::class);
    }

    public function getSizeInKbAttribute()
    {
        return round($this->image_size / 1024, 2);
    }

    public static function boot()
    {
        parent::boot();
    }
}
Step 8 : Create Controller file
We need to create a controller file for write upload image function.
php artisan make:controller UploadImageControllerThis command will create a controller file for image upload feature functions. After adding code in the controller file it will look like this.
<?php

namespace App\Http\Controllers;

use App\UploadImage;
use Illuminate\Http\Request;
use Illuminate\Support\Facades\Storage;

class UploadImageController extends Controller
{
    public function imageUpload(Request $request)
    {
        $input = $request->all();

        //Gether file data here
        $file_parts = pathinfo($input['fileToUpload']->getClientOriginalName()); //$file_parts['extension']
        $file_size = $request->file('fileToUpload')->getSize();

        //check the file extensions
        if(in_array($file_parts['extension'], ['jpg', 'JPG', 'png' ,'PNG' ,'jpeg' ,'JPEG', 'gif', 'GIF'])){
            $name = uniqid(). "_" . $input['fileToUpload']->getClientOriginalName();

            $fileToUpload = $name;
            $filePath = env('AWS_BUCKET').'/' . $name;

            //Upload file in Amazon s3 bucket from here
            $response = Storage::disk('s3')->put($filePath, file_get_contents($input['fileToUpload']), ['visibility' => 'public']);
        }

        //Here we will insert the data into database
        $uploadImage = UploadImage::create([
           'image_name'=> $fileToUpload,
           'image_path'=>$filePath,
           'image_size'=>$file_size,
        ]);

        return back()->with('success', 'Image Successfully Uploaded !!');
    }

}
Step 9 : Update View file
Update default created home a view file
<!doctype html>
<html lang="{{ str_replace('_', '-', app()->getLocale()) }}">
    <head>
        <meta charset="utf-8">
        <meta name="viewport" content="width=device-width, initial-scale=1">

        <title>Laravel</title>

        <!-- Fonts -->
        <link href="https://fonts.googleapis.com/css?family=Nunito:200,600" rel="stylesheet">
        <link rel="stylesheet" href="https://maxcdn.bootstrapcdn.com/bootstrap/3.4.0/css/bootstrap.min.css">
        <!-- Styles -->
        <style>
            html, body {
                background-color: #fff;
                color: #636b6f;
                font-family: 'Nunito', sans-serif;
                font-weight: 200;
                height: 100vh;
                margin: 0;
            }

            .full-height {
                height: 100vh;
            }

            .flex-center {
                align-items: center;
                display: flex;
                justify-content: center;
            }

            .position-ref {
                position: relative;
            }

            .top-right {
                position: absolute;
                right: 10px;
                top: 18px;
            }

            .content {
                text-align: center;
            }

            .title {
                font-size: 84px;
            }

            .links > a {
                color: #636b6f;
                padding: 0 25px;
                font-size: 13px;
                font-weight: 600;
                letter-spacing: .1rem;
                text-decoration: none;
                text-transform: uppercase;
            }

            .m-b-md {
                margin-bottom: 30px;
            }
        </style>
    </head>
    <body>
        <div class="flex-center position-ref full-height">
            @if (Route::has('login'))
                <div class="top-right links">
                    @auth
                        <a href="{{ url('/home') }}">Home</a>
                    @else
                        <a href="{{ route('login') }}">Login</a>

                        @if (Route::has('register'))
                            <a href="{{ route('register') }}">Register</a>
                        @endif
                    @endauth
                </div>
            @endif

            <div class="content">
                <div class="title m-b-md">
                    Laravel
                </div>
                @if ($message = Session::get('success'))
                    <div class="alert alert-success alert-block">
                        <button type="button" class="close" data-dismiss="alert">×</button>
                        <strong>{{ $message }}</strong>
                    </div>
                @endif

                <div class="container">
                    <form action="{{ route('image_upload') }}" method="POST" enctype="multipart/form-data">
                        @csrf
                        <div class="col-md-4"></div>
                        <div class="col-md-4">
                            <div class="form-group">
                                <label for="file">Select Image:</label>
                                <input type="file" name="fileToUpload" class="form-control" id="fileToUpload">
                            </div>
                            <input type="submit" value="Upload Image" name="submit">
                        </div>
                        <div class="col-md-4"></div>

                    </form>
                </div>
            </div>
        </div>
    </body>
</html>
Now you are ready to upload images in amazon so just open this type of link in your browser.
Link: http://127.0.0.1/laravel-amazon-s3-upload
This will look like below image
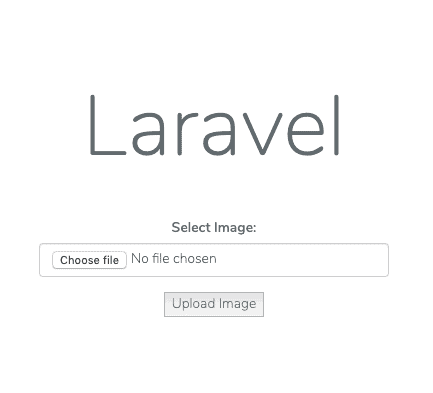
Here just upload an image and click the Upload Image button it will upload an image at Amazon s3 bucket and also store the image name with the path in your database so from there you can retrieve the image.
After successfully upload an image, it will look like the below image.
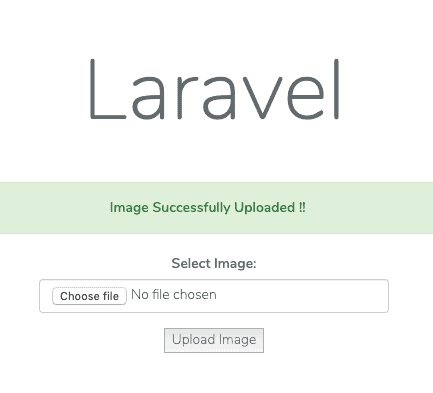
So now when you want to display an image you just need to apply this file path format
Link: https://s3.us-east-2.amazonaws.com/(Bucket name)/(Folder name)/(Image name)
This way you can render the image.
Here is the GitHub link for ready source code
Congratulations !! Now you are done with How to upload files in amazon s3 bucket using Laravel Successfully !! Enjoy !!