


Hello, Coders!! This article tutorial is about the Vue JS 2 Event Listeners with a list: Tutorial 2. Here we will learn to make a list from array and print, take the input value from text fields, and bind with the list module.
Here is the full code:
<!DOCTYPE HTML>

<html>

	<head>

			<title></title>

	</head>

	<body>

		<div id="root">

			<ul>
				<li v-for="name in names" v-text="name"></li>
			</ul>

			<input id="input" type="text" v-model="newName">

			<button @click="addName">Add Name</button>

		</div>


		<script src="https://unpkg.com/vue@2.1.3/dist/vue.js"></script>

		<script>


			var app = new Vue({

				el: '#root',

				data:  {

					newName: '',

					names: ['name1','name2','name3']

				},

				methods: {

					addName() {
						this.names.push(this.newName);

						this.newName = '';
					}
				},

			});

		</script>

	</body>
</html>
Code Explanation:
vue js CDN link:
https://unpkg.com/vue@2.1.3/dist/vue.js<button @click="addName">Add Name</button>Here @click is the event listener and adds the method addName. This event listener will call the method and execute.
<input id="input" type="text" v-model="newName">AddName method initializes in text input as a v-model it will take the input from the newName and append it into the list names.
this.names.push(this.newName);and after that, it clears the text input by making it empty.
this.newName = '';List of the names
<li v-for="name in names" v-text="name"></li>Here v-for loop the names as a name and print names list and also append the latest added value using the addNames method. Here v-text is prints the name here you can write {{ name }} also to print between the <li> tag.
Output:
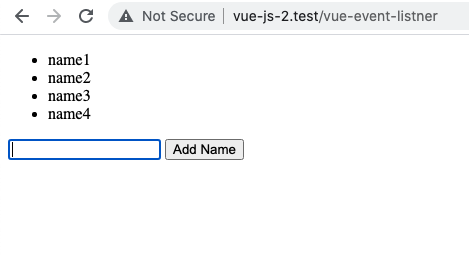
You are done here so this article tutorial is about the Vue JS 2 Event Listeners with a list: Tutorial 2. Keep learning from the vue js 2 series. You can check the first tutorial here Vue js 2 Data Binding Tutorial: Tutorial 1 Good Luck!